
Your shopping cart is empty.
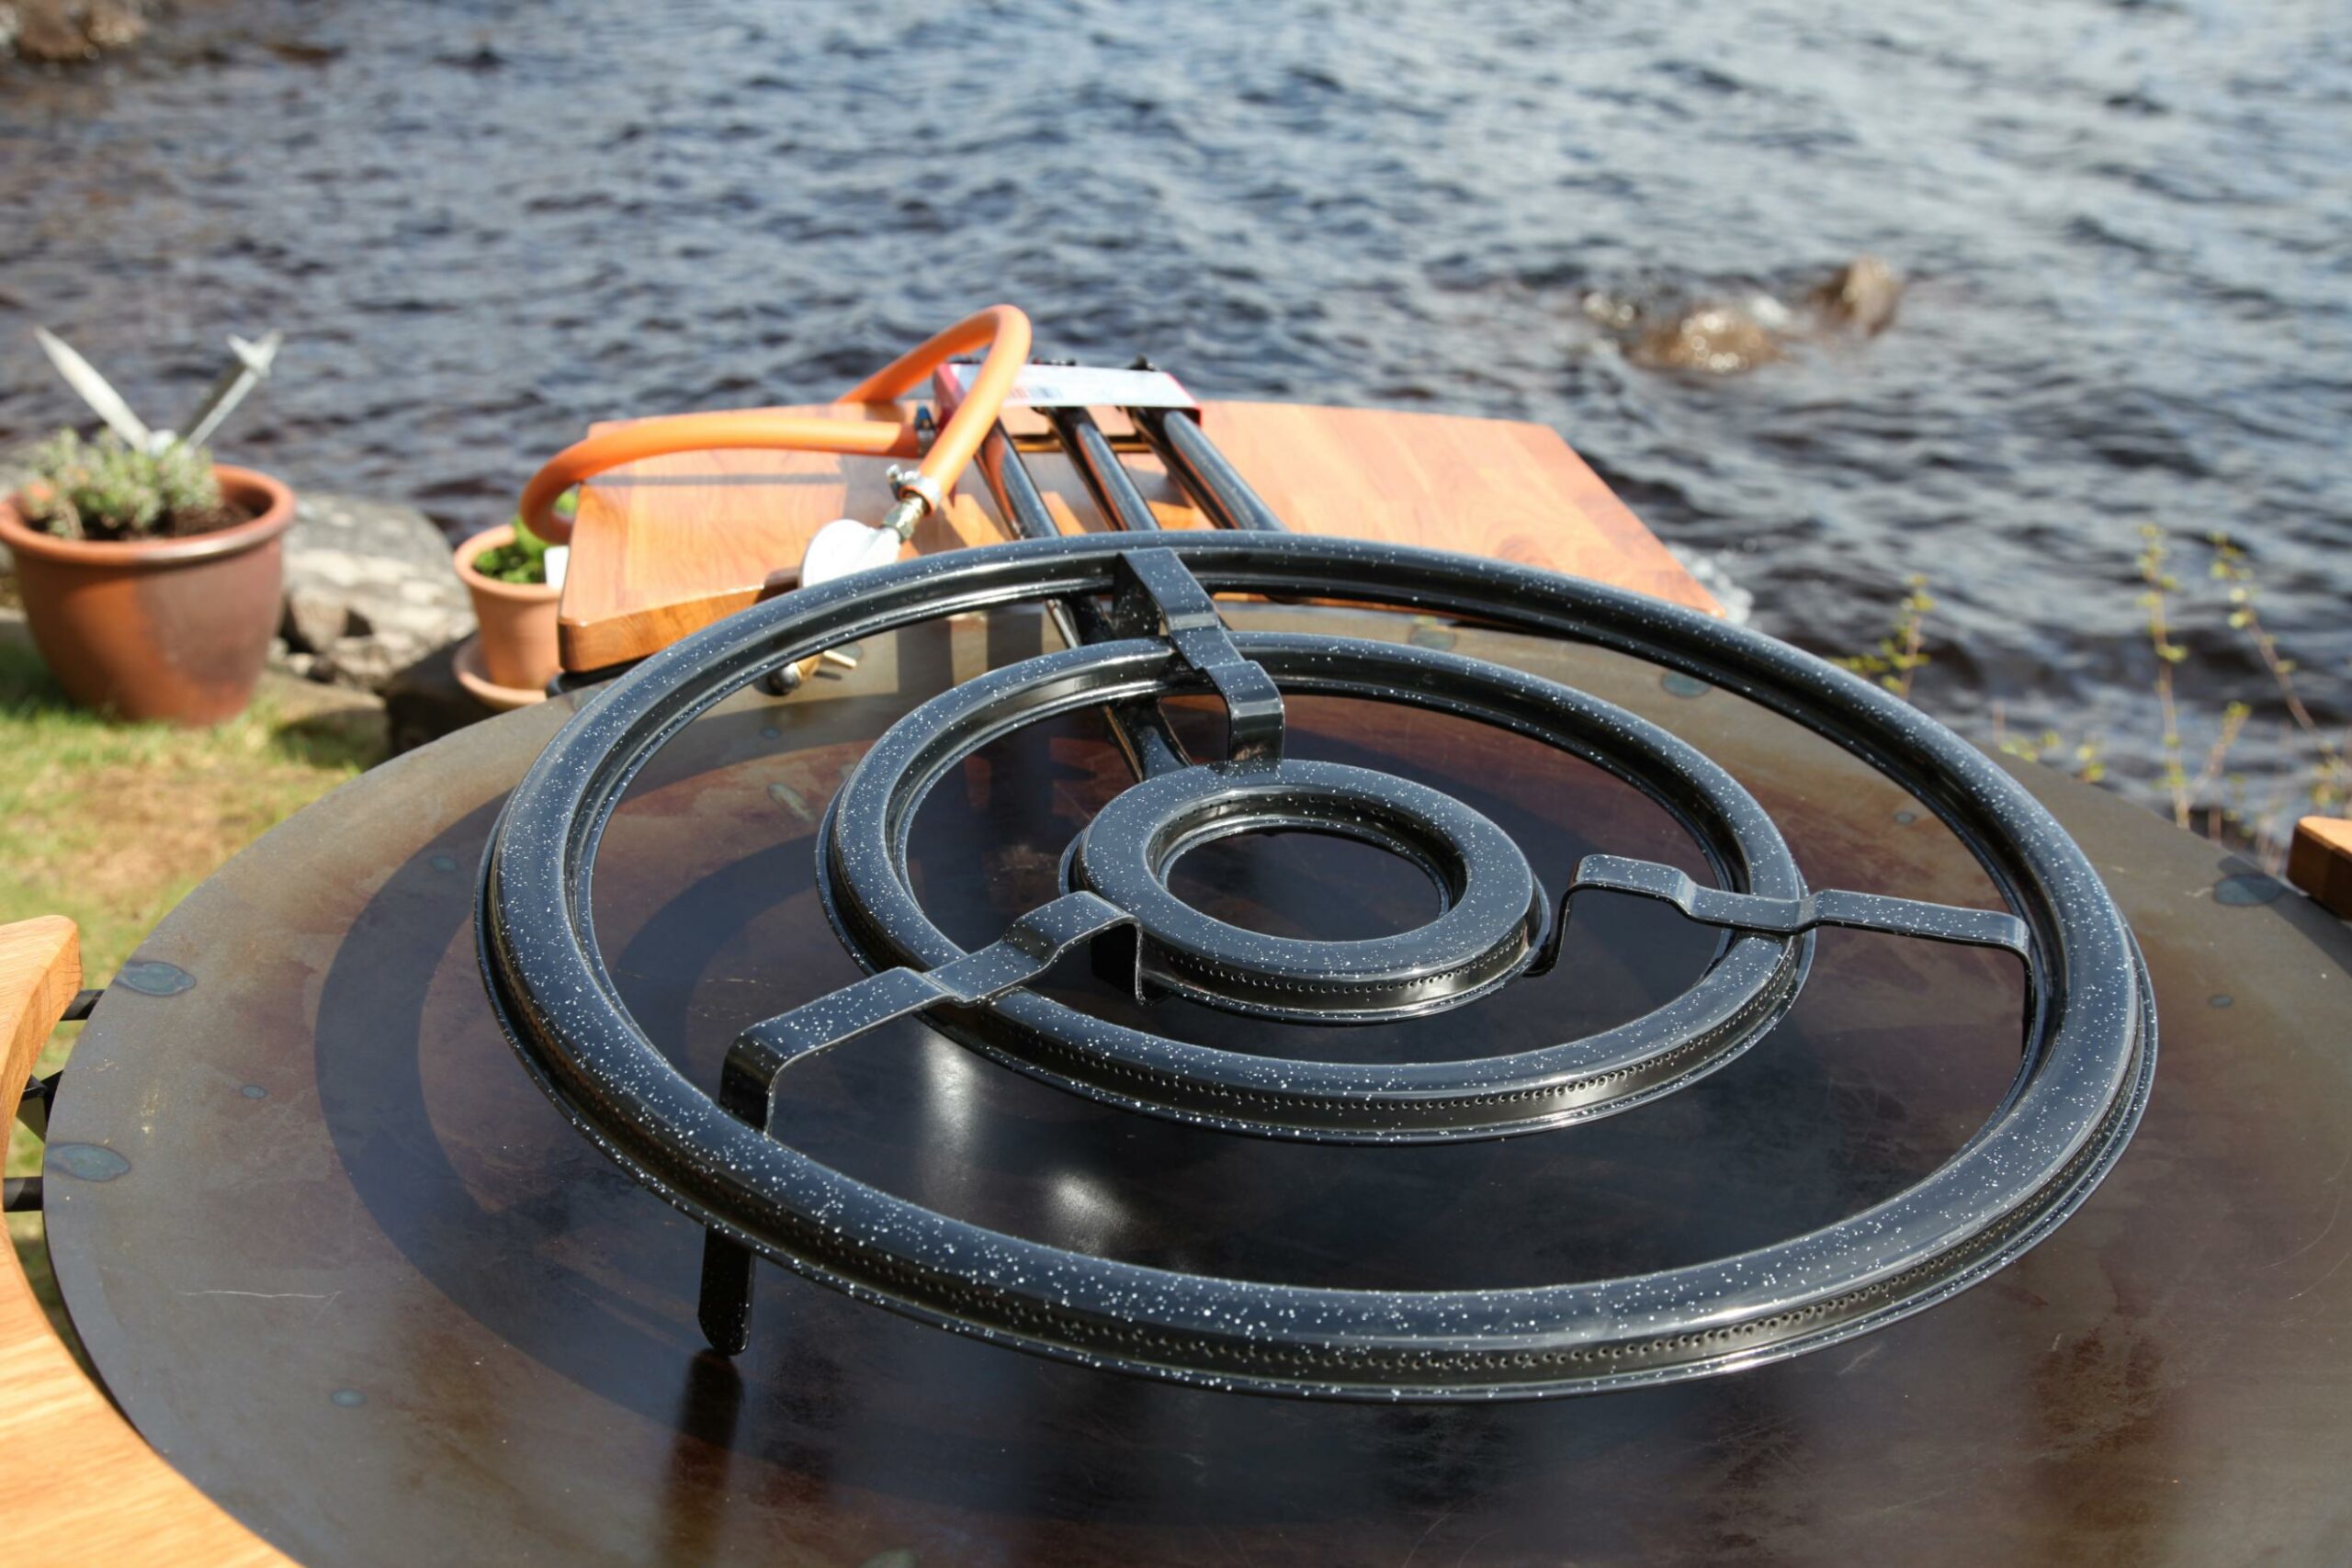
Why we have the market's best hob
- Ergonomic working height 90cm
- Powerful burner with three rings
- 4 mm cupped steel of the best quality
- The market's best wind protection


Your shopping cart is empty.


Why we have the market's best hob